


BEST PRICE GUARANTEEOn Many Items

MONEY-BACK-GUARANTEE
Relaxed shopping

EXPERT ADVICE
From athletes for athletes
PAYMENT METHODS
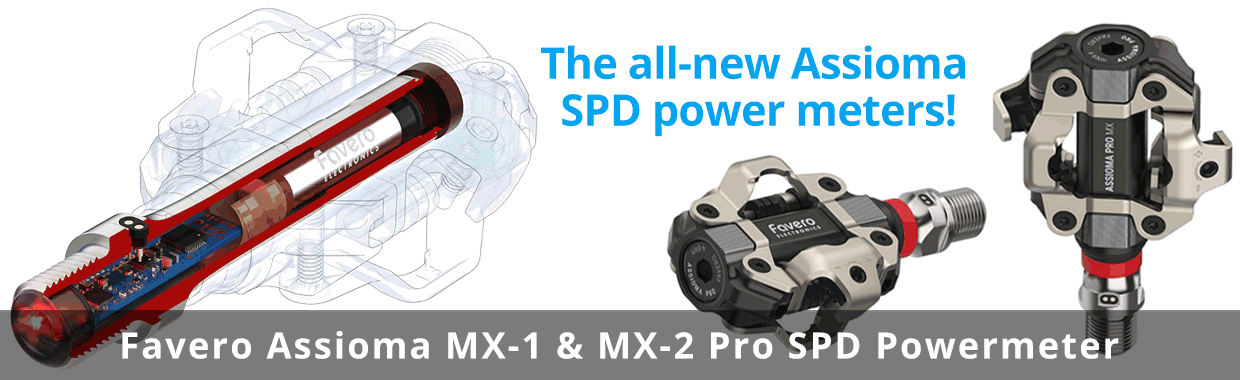


Powermeter Shop – Assioma, 4iiii, Inpeak, SRM, Wahoo and more
PowermeterShop is an online shop specialising in power meters, with over 10 years of experience. As former professional athletes and coaches, we know the practical requirements of training with power and help you find the right power meter for your bike, pedal system, and training goals. In addition to our online shop, we run Rennrad Werkstatt Berlin, a workshop specialising in road, triathlon, and time trial bikes.
Our best-selling power meters
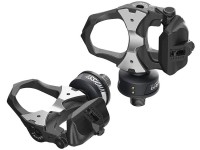
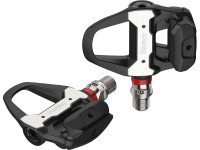
The Favero Assioma power meters are our clear bestsellers. As pedal-based power meters, they can be installed in minutes without changing your crankset and are available for road, gravel, and MTB. Current models:
Assioma PRO RS SPD-SL – for Shimano SPD-SL
Assioma PRO RL KEO – for Look KEO
Assioma PRO MX SPD – for MTB, gravel, and Shimano SPD
Assioma UNO and DUO KEO – the classic Assioma line
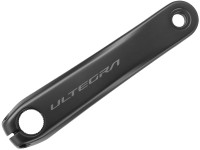
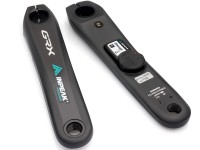
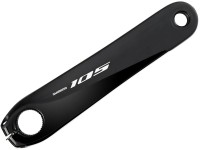
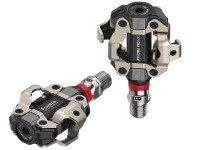
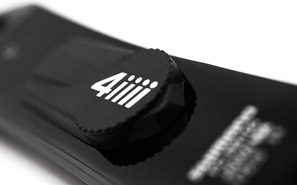
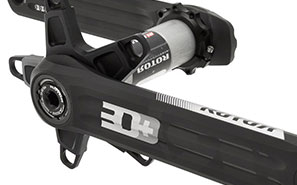
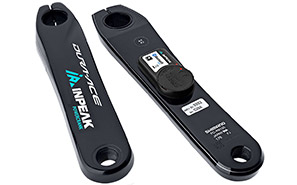
Alongside Assioma, we stock SRM crank power meters and bike computers, 4iiii Precision power meters for Shimano cranks, Wahoo Powrlink Zero, Garmin Rally, Inpeak Powercrank, and Rotor power meters.
What is a power meter?
A power meter is a device mounted on your bike that measures your output in watts. Most power meters use strain gauges – small sensors that deform slightly under load – to capture the force applied to the crank or pedal. Combined with cadence (crank revolutions per minute), the power meter calculates your power output and transmits it via ANT+ or Bluetooth to a compatible bike computer.
Who needs a power meter?
Anyone who wants to train with structure will benefit from a power meter more than from any other sensor. Heart rate responds slowly and is affected by factors like temperature, sleep, and nutrition. Power in watts, by contrast, is a direct, objective measurement: you see immediately how hard you are pushing and can stay precisely within your training zones. For ambitious riders who want to make the most of limited training time, a power meter is the most valuable training tool available.
Types of power meters
The most important difference between power meters is the position of the sensor. Our range includes:
1. Pedal power meters – Assioma, Garmin Rally, Wahoo Powrlink Zero: easy installation without changing cranks, swappable between bikes
2. Crank arm power meters – Inpeak Powercrank, 4iiii Precision: lightweight, affordable, single-sided
3. Spider power meters – SRM Origin, Rotor INspider and 2INpower: dual-sided, high precision, system-specific
4. Smart trainers – Wahoo Kickr: integrated power measurement for indoor training
Single-sided or dual-sided?
Single-sided power meters measure only the left pedal or crank arm and double the value to estimate total power. This works well as long as there is no significant left-right imbalance. For most riders, a single-sided power meter is sufficient and the most cost-effective way to start training with power.
Dual-sided power meters measure both legs independently and provide additional data on pedalling technique, balance, and pedal efficiency. This is particularly valuable for ambitious riders who want to analyse and improve their technique and power distribution. Pedal-based systems like the Favero Assioma with two independent pedal sensors are especially informative in this regard.
Compatible bike computers
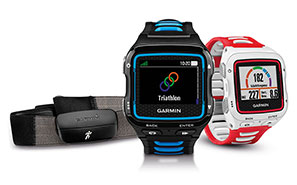
All power meters in our shop transmit data via ANT+ and are therefore compatible with all common GPS bike computers – including Wahoo Elemnt, Garmin Edge, Hammerhead Karoo 3, and SRM PC8. Many models additionally support Bluetooth Smart for direct connection with smartphones and training apps such as Zwift or TrainingPeaks.
Service and advice
With years of experience as athletes, coaches, and power meter specialists, we can give concrete recommendations on compatibility between power meters and different cranksets, bottom brackets, and pedal systems. We help you find the right setup for your bike. Reach us via contact form or phone – we typically respond within one business day.
If you are looking for personal coaching, performance diagnostics, or a professional bike fitting, we recommend our partner Synergy ProTraining in Berlin.